


https://github.com/mrwadams/attackgen
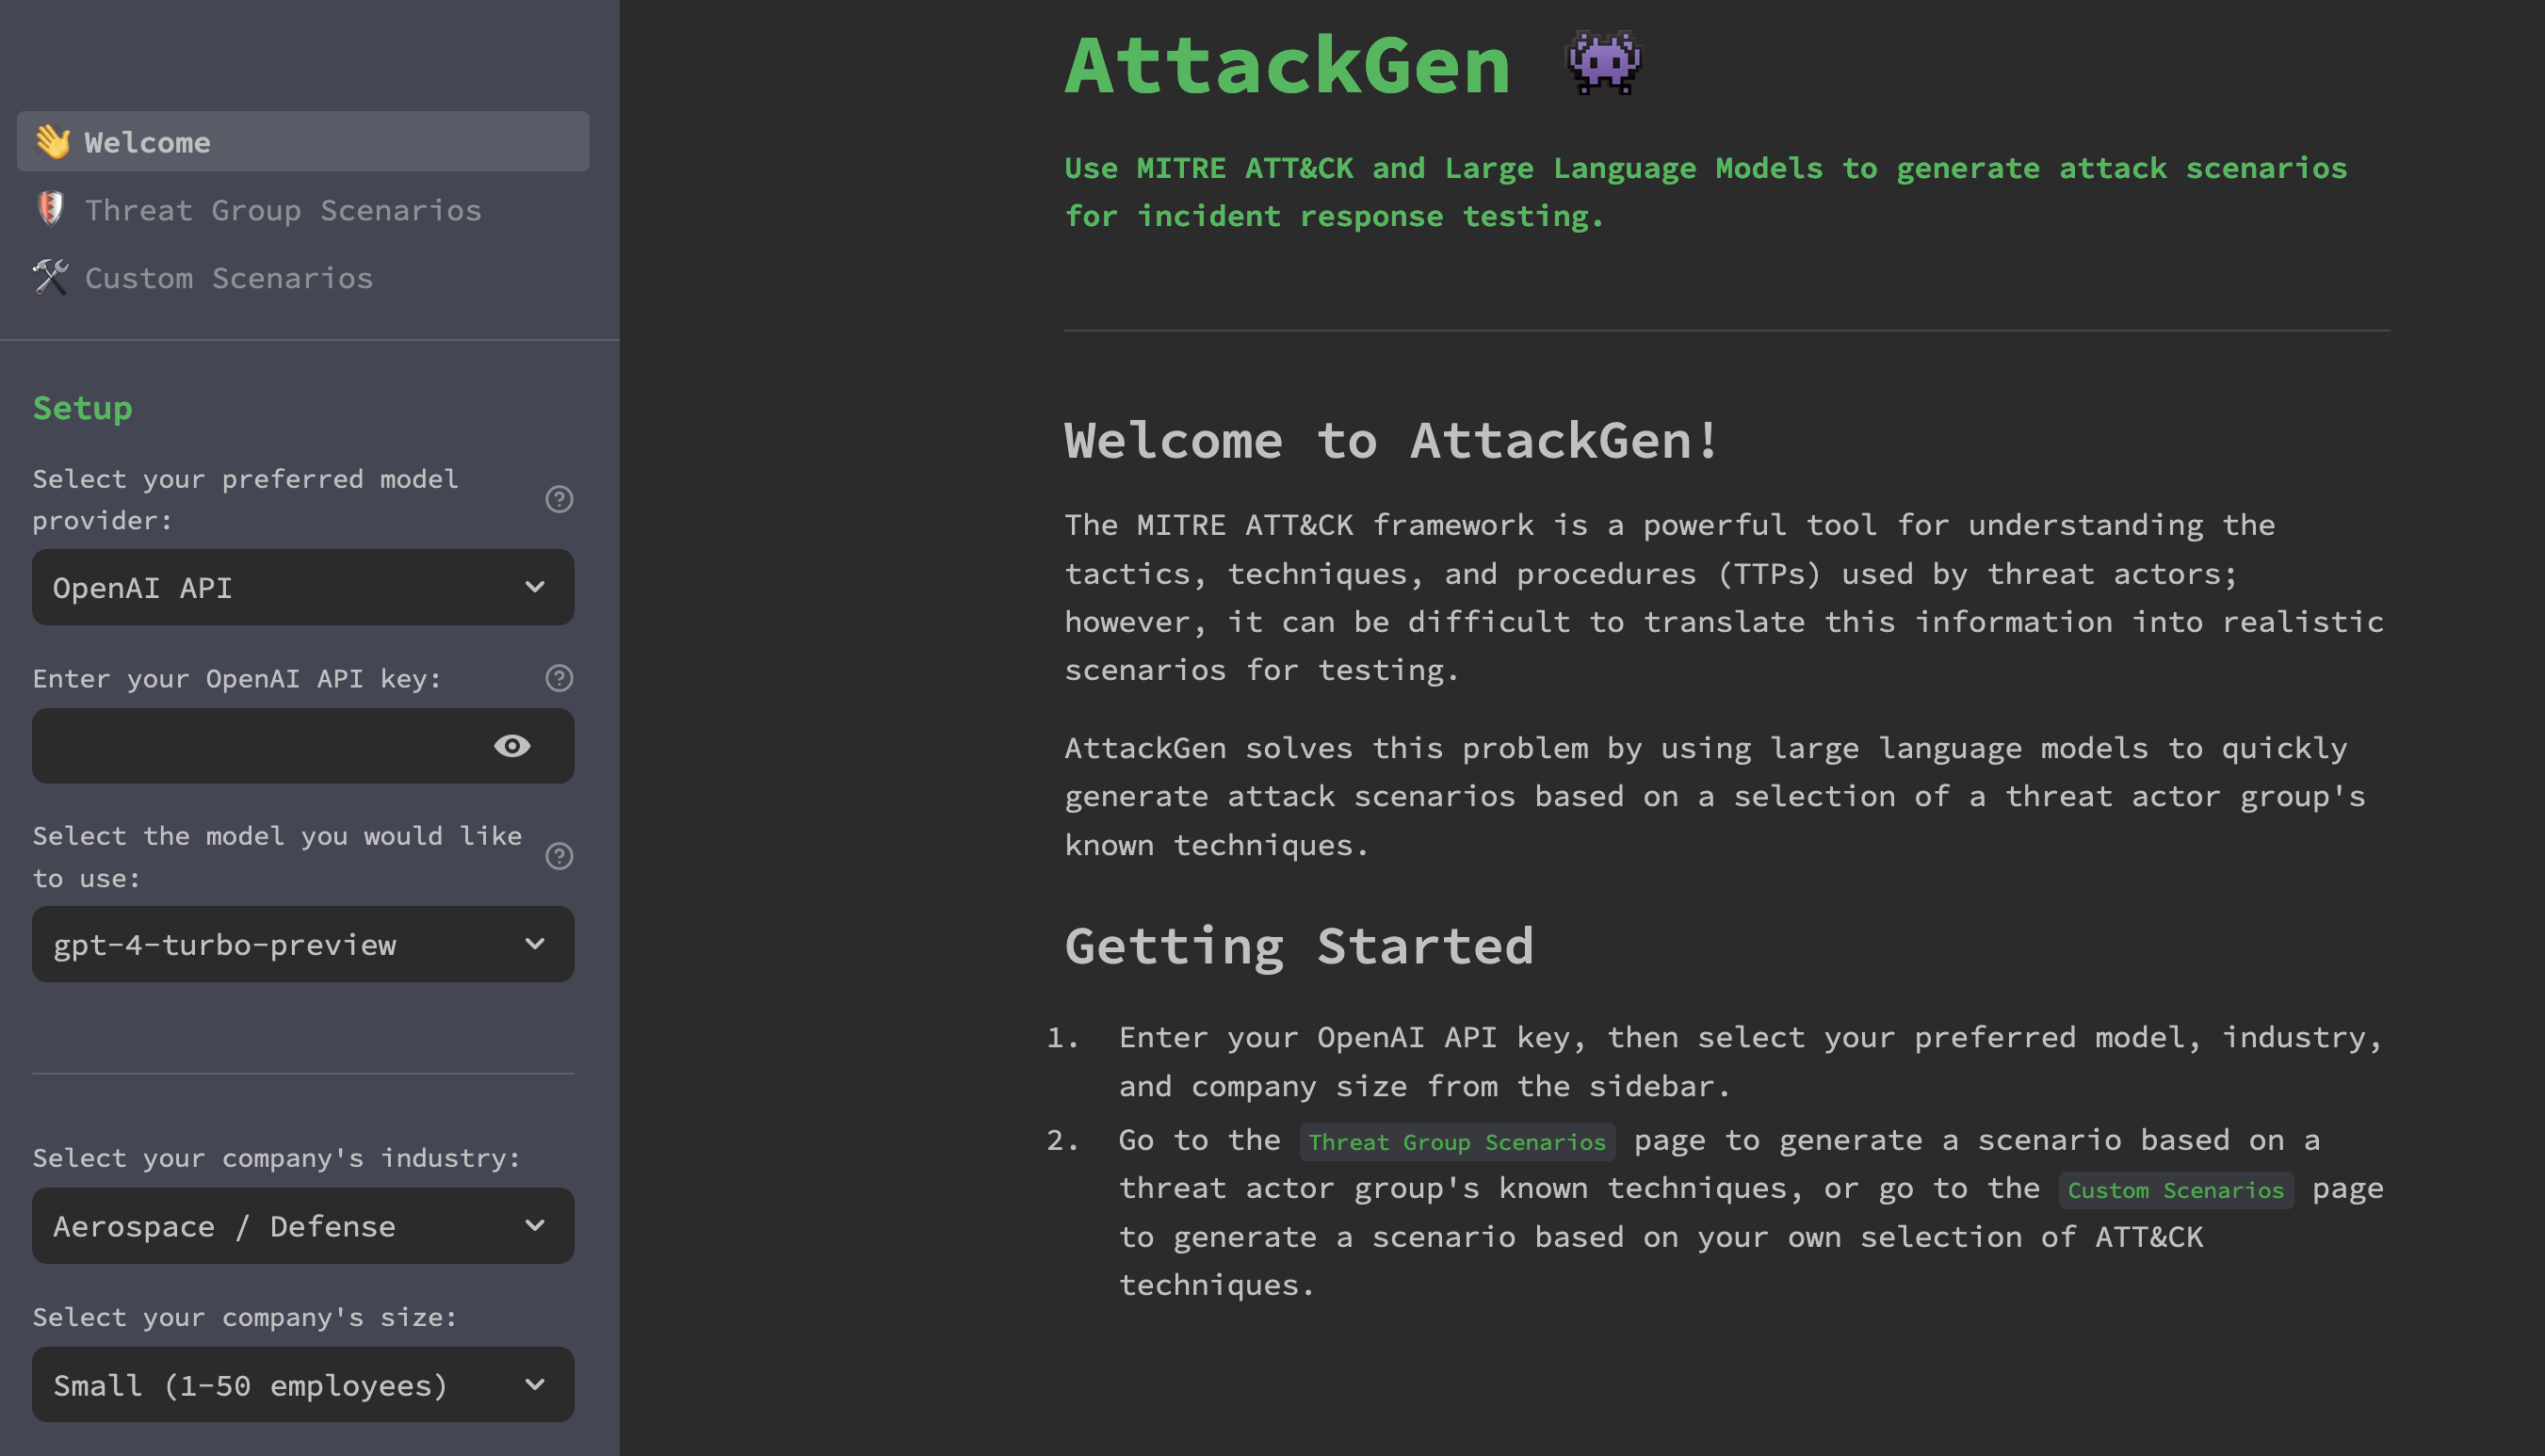
AttackGen is a cybersecurity incident response testing tool that leverages the power of large language models and the comprehensive MITRE ATT&CK framework. The tool generates tailored incident response scenarios based on user-selected threat actor groups and your organisation’s details.
Features
- Generates unique incident response scenarios based on chosen threat actor groups.
- Allows you to specify your organisation’s size and industry for a tailored scenario.
- Displays a detailed list of techniques used by the selected threat actor group as per the MITRE ATT&CK framework.
- Create custom scenarios based on a selection of ATT&CK techniques.
- Capture user feedback on the quality of the generated scenarios.
- Downloadable scenarios in Markdown format.
- 🆕 Use the OpenAI API, Azure OpenAI Service, Mistral API, or locally hosted Ollama models to generate incident response scenarios.
- Available as a Docker container image for easy deployment.
- Optional integration with LangSmith for powerful debugging, testing, and monitoring of model performance.
Requirements
- Recent version of Python.
- Python packages: pandas, streamlit, and any other packages necessary for the custom libraries (
langchainandmitreattack). - OpenAI API key.
- LangChain API key (optional) – see LangSmith Setup section below for further details.
- Data files:
enterprise-attack.json(MITRE ATT&CK dataset in STIX format) andgroups.json.
Installation
Option 1: Cloning the Repository
- Clone this repository:
git clone https://github.com/mrwadams/attackgen.git
- Change directory into the cloned repository:
cd attackgen
- Install the required Python packages:
pip install -r requirements.txt
Option 2: Using Docker
- Pull the Docker container image from Docker Hub:
docker pull mrwadams/attackgen
LangSmith Setup
If you would like to use LangSmith for debugging, testing, and monitoring of model performance, you will need to set up a LangSmith account and create a .streamlit/secrets.toml file that contains your LangChain API key. Please follow the instructions here to set up your account and obtain your API key. You’ll find a secrets.toml-example file in the .streamlit/ directory that you can use as a template for your own secrets.toml file.
If you do not wish to use LangSmith, you must still have a .streamlit/secrets.toml file in place, but you can leave the LANGCHAIN_API_KEY field empty.
Data Setup
Download the latest version of the MITRE ATT&CK dataset in STIX format from here. Ensure to place this file in the ./data/ directory within the repository.
Running AttackGen
After the data setup, you can run AttackGen with the following command:
streamlit run 👋_Welcome.py
You can also try the app on Streamlit Community Cloud.
Usage
Running AttackGen
Option 1: Running the Streamlit App Locally
- Run the Streamlit app:
streamlit run 👋_Welcome.py
- Open your web browser and navigate to the URL provided by Streamlit.
- Use the app to generate standard or custom incident response scenarios (see below for details).
Option 2: Using the Docker Container Image
- Run the Docker container:
docker run -p 8501:8501 mrwadams/attackgen
This command will start the container and map port 8501 (default for Streamlit apps) from the container to your host machine. 2. Open your web browser and navigate to http://localhost:8501. 3. Use the app to generate standard or custom incident response scenarios (see below for details).
Generating Scenarios
Standard Scenario Generation
- Choose whether to use the OpenAI API or the Azure OpenAI Service.
- Enter your OpenAI API key, or the API key and deployment details for your model on the Azure OpenAI Service.
- Select your organisatin’s industry and size from the dropdown menus.
- Navigate to the
Threat Group Scenariospage. - Select the Threat Actor Group that you want to simulate.
- Click on ‘Generate Scenario’ to create the incident response scenario.
- Use the 👍 or 👎 buttons to provide feedback on the quality of the generated scenario. N.B. The feedback buttons only appear if a value for LANGCHAIN_API_KEY has been set in the
.streamlit/secrets.tomlfile.
Custom Scenario Generation
- Choose whether to use the OpenAI API or the Azure OpenAI Service.
- Enter your OpenAI API Key, or the API key and deployment details for your model on the Azure OpenAI Service.
- Select your organisation’s industry and size from the dropdown menus.
- Navigate to the
Custom Scenariopage. - Use the multi-select box to search for and select the ATT&CK techniques relevant to your scenario.
- Click ‘Generate Scenario’ to create your custom incident response testing scenario based on the selected techniques.
- Use the 👍 or 👎 buttons to provide feedback on the quality of the generated scenario. N.B. The feedback buttons only appear if a value for LANGCHAIN_API_KEY has been set in the
.streamlit/secrets.tomlfile.
Please note that generating scenarios may take a minute or so. Once the scenario is generated, you can view it on the app and also download it as a Markdown file.


What do you think?
Show comments / Leave a comment